Showing posts with label wargaming. Show all posts

Sunday, 19 February 2012

Sunday 19th Feb Game Pics.

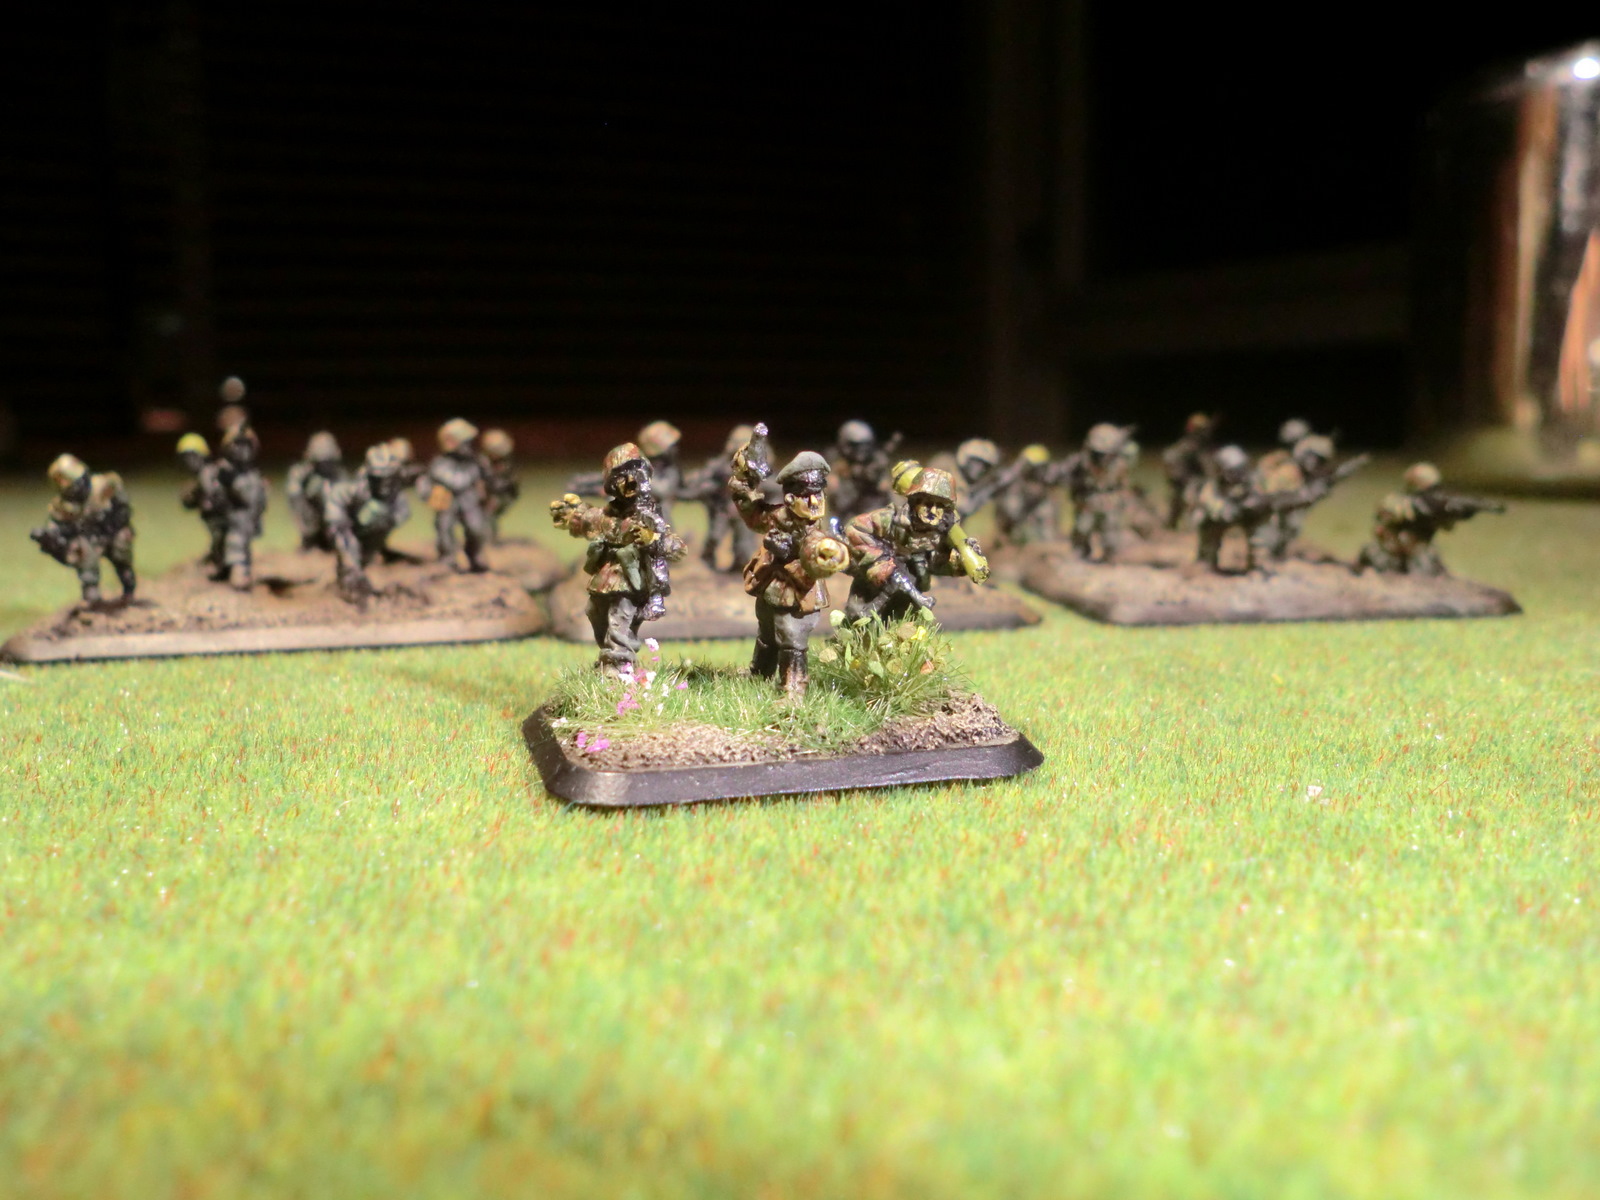
Mixture of game pics from my local club, they're from several different games going on over the course of the day, followed by pics of Rommel my cat and his unnatural urge to lie on not only my tanks but also my infantry....


Friday, 17 February 2012

Flak Nest Progress.

So I picked up the Flak Nests at Vapnartak in York two weeks back and I've been working on those alongside, frankly, a shed load of other projects but this is their current status.

 I've literally just stuck the guns and gunners together, which was very hard due to various minor miscasting problems and low surface areas upon which to glue parts together.

Thursday, 16 February 2012

Quick Spearhead Update

All Stuarts have had a FoW US Armour spray base over grey polyurethane primer, a GW Badab Black wash followed by a heavy Vallejo Brown Violet drybrush. I've only just done the hulls half an hour ago and below is a pic of their current progress.

The tank on the right is how I'm going to paint them all hopefully, perhaps slightly lighter in tone though as I think it looks too much like a British tank rather than American.

Yesterday I received 160 rare earth magnets to magnetise every one of my turreted vehicles as I've been noticing more and more wear/paint damage to my Cromwells and a few other tanks. These Stuarts have all had their turrets and hulls magnetised to not only to protect their paint work but also to protect the phenomenally fragile .30 Cal MGs and their tiny main gun barrels.

Sunday, 12 February 2012

Sunday Afternoon Game.

James and I had a game at one of local (ish) clubs facing off with my box fresh 3rd Armored Light Tank Company against a Panzerspah Lehr Company. We rolled the "Surrounded" scenario from the V3 book and with James being mechanised he was on the defensive, a difficult task for his manoeuvrable force facing my equally manoeuvrable light tanks! Unfortunately the lists aren't fully painted yet but I've only had all of the U.S. stuff for literally a few weeks and I've been painting them like a lunatic to get them table ready ASAP. I hope to have them finished within a week.

The lists were as follows:

3rd Armored Light Tanks:

HQ - 2 Stuarts
1st Platoon - 5 Stuarts
2nd Platoon - 5 Stuarts
3rd Platoon - 5 Stuarts
Medium Tank Platoon - 4 Shermans
Armored Rifle Platoon
Armored Mortar Platoon
Understrength Recon Platoon

Panzerspah Lehr Company:
HQ - 1 Puma
Panzerspah Platoon - 3 Pumas
Panzer Platoon - 5 x PzIV
Panzerpioneer Platoon

This isn't going to be a batrep but just a few random pics from the game.


The first Pumas fall to massed Sherman and Stuart shots! Meanwhile the Panzer IVs form a secure gun line in the treeline using their concealement well and picking off Shermans and Stuarts alike across the open ground between them.


This lone Puma on the bridge was photographed at the end of the battle but he was one of the first casualties and successfully blocked the bridge slowing my Shermans progress over the bridge! This made them take a few turns to get into the accessible, open rear of the board instead of the single turn it would've taken n a clear road!


Stuarts manoeuvre into cover on the edge of a field ready to leap frog to the next available cover (which was a leap too far might I add!).


Stuarts race at the Panzer IVs in an effort to close their targets down then break for side armour shots, they actually bailed a few of the Panzers from the front. Unfortunately they all remounted and returned some withering fire on the headstrong "Spearhead" Division.


Flanking Shermans breakthrough to wreak havoc in the enemies rear, destroying or breaking the last Puma platoons and exchanging fire with the remaining PzIVs!


Aftermath of the "crop fight" leaves many burning Stuarts but has held up this flank for long enough to allow other forces into the rear. As you can see at the top of the picture, Shermans are rushing into the void left by Pumas.


Aerial shot of the end of the battle, company morale check was forced rather than anything clever on my part but I had the top objective capped with nothing to oppose me next turn!

Sunday, 8 January 2012

New (and old) kit update

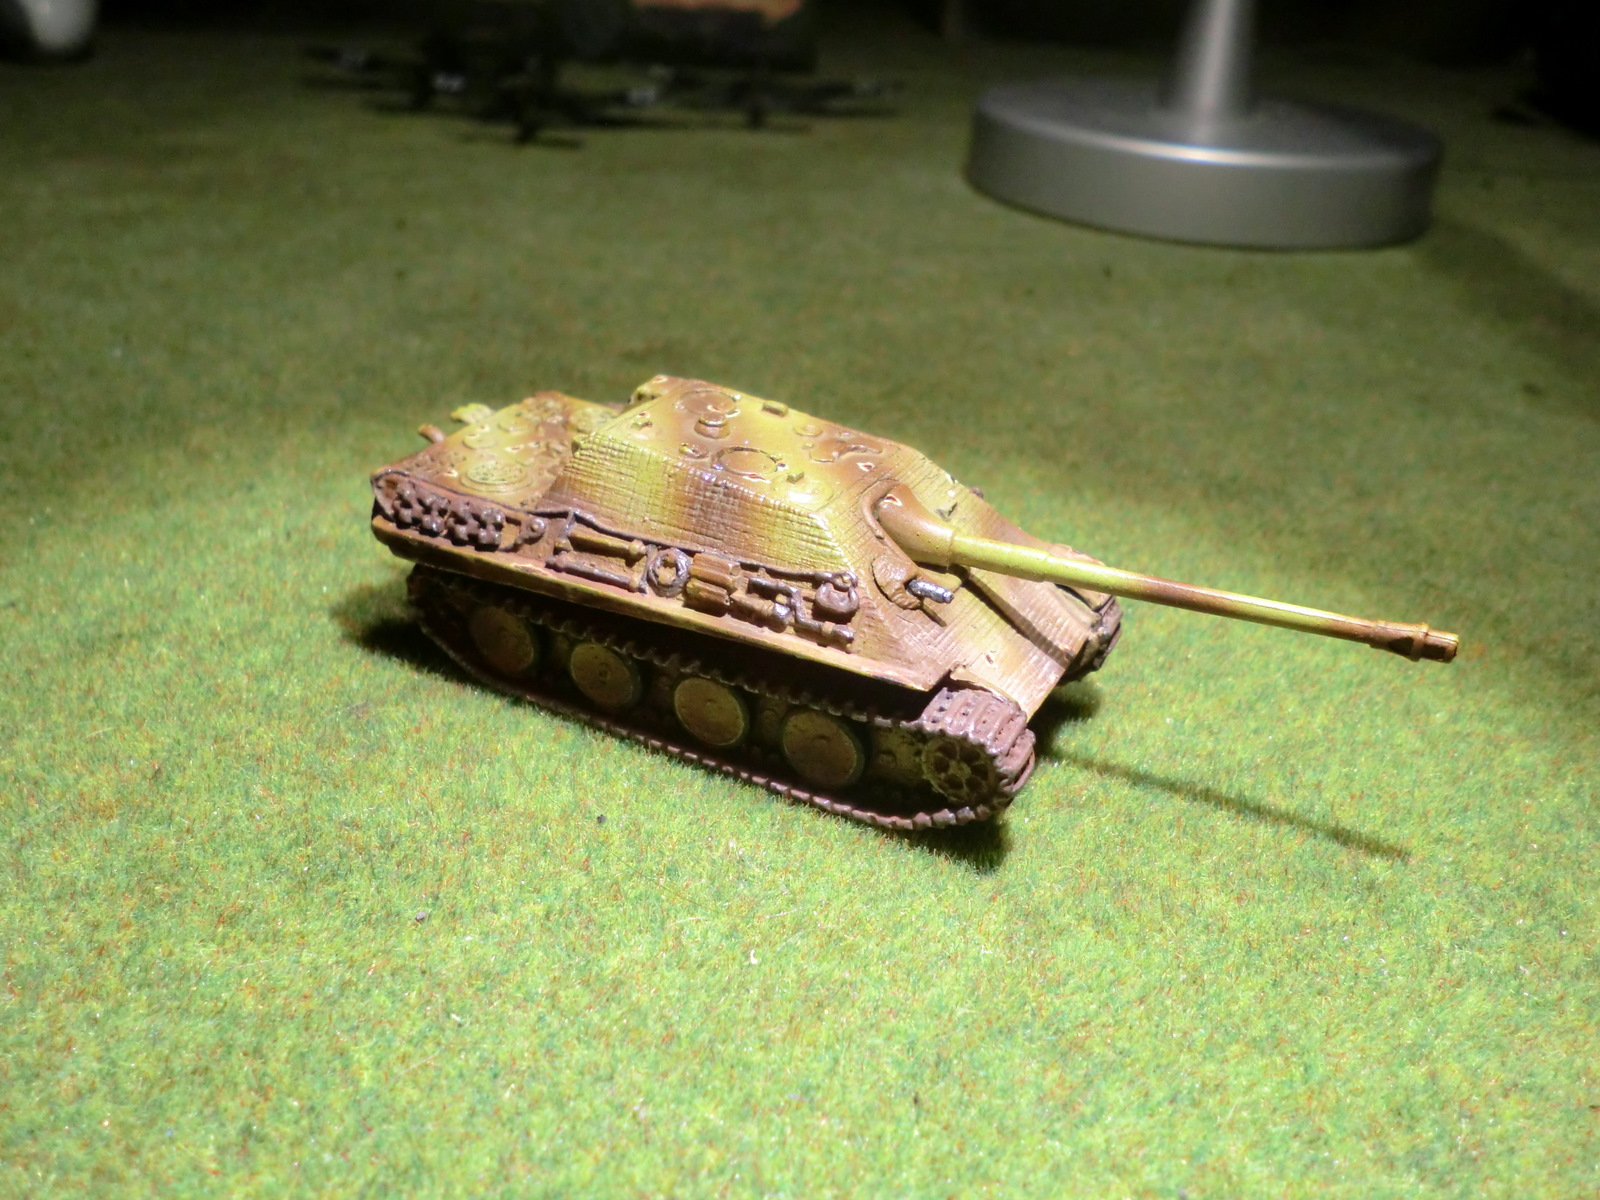
So I've been doing some work today, I've based the US Artillery I cleaned up last week, base coated and started my Brummbars that have been sat primed for 4 months, base coloured the 10.5cm guns I've had primed for 8 months, re-primed an ancient Ferdinand I had lying around to paint with the Elefant I just got as part of my Schwerepanzerjagerabteilung 653 Army!


Friday, 28 October 2011

More painting updates, I've been pretty busy.


With the benefit of hindsight I'd have painted this tank green/dunkelgelb rather than brown/dunkelgelb as the rust pigments just seem to blend in with the brown colouring on the hull on the end pictures. Still it's not totally finished yet theres a few more sections to do, hopefully have this finished tomorrow though.

With the paint chipping I tried to do something a little different and show the "oxide red" primer that German tanks were undercoated with but the colour choices I used were poor so I added black into the red sections I did which as you can see in the final pic tones them down quite a lot. There's still a few stages of varnish to go and some washes to add so they'll be toned down even more hopefully.


Base colours:


Some drybrushing and highlighting to tan areas.


Tracks and stowage/tools base coated and some chipping/wear added:


All metal areas drybrushed in gunmetal then mig rust and dry mud pigments added to various areas:

Jagdpanther and VK4501 updates.

Worked on this guy in between waiting for coats to dry on the VK4501 yesterday, not amazingly detailed but it's what I was going for:


Tidyed up some of the pin wash this morning and glossed over to seal:


Thursday, 27 October 2011

VK4501(P) update.

So I got my hands on a lovely Battlefront VK4501(P) thanks to James as mentioned in the previous post. Here's some pics of it's current progress I've snapped in between working on my British stuff.

It's for a late war army I'm constructing which I'll reiterate at the bottom of this post. Gorgeous looking vehicle and you can really see where the Ferdinand/Elefant came from when you look at the drive train on this beast. I'll be painting this in a tri-tone camo that I'm going to be airbrushing on thanks to my brother in law has loaned me his compressor. The camo pattern will be hit and miss as it'll be made up on the fly and I've never used an airbursh with a compressor before only with canned air (which is crappy btw and ends up costing you as much in the long run). Below are two pictures, one of its base coat and one of its current state.


The base coat I use is a mix of Tamiya XF-4 Yellow Green and some Vallejo 70882 Middlestone, this is beacause I love how Tamiya paints work through airbrushes but the colour is a little too vivid for my liking. To be honest the image still looks very bright and it doesn't look quite so stark in the flesh, I gave the model three coats of Mig Filter for Tri-Tonal camo to try and draw the shades together. This has then received a gloss varnish and a "pin wash" using Mig Abteilung black oil paint mixed with a small amount of white spirit, this achieves a black lined effect quickly, cleanly and most importantly reversibly. If you're too generous with the pin wash you can take a clean brush with white spirit on it and manipulate the section you've made a mistake on, you can thin it down, wash it off parts you don't want it to hit and even remove it altogether.


  Tomorrow once this wash has dried I'll give the model a thin gloss coat again to seal it in and apply decals then work on the detailing where I'm planning on making this tank look pretty worn and weathered. I plan to use Panzer Grey as the colour with which to pronounce stone chips and scratches as this would've been the original colour underneath the more recently added tri-tone scheme. After all of that I plan to hit it with some super matte varnish to dull down that shine and also some of the shades in the camo very slightly.

EDIT: I think you can see between the two pictures just how much the XF-4/Middlestone base has really toned down with the camo pattern on it and the coats of filter?

Monday, 24 October 2011

Finishing Cromwells, once and for ALL!

So I've had my Cromwell army for quite literally years, it's been through several incarnations without ever being truly finished. They're all base coated in green and certain vehicles are pretty much finished.

Several weeks back I decided the colours I'd done them weren't what I wanted so I re-sprayed them all using my airbrush with a nice base coat of Russian Uniform and I'm going to be using my oil wash on them all and doing a very basic scheme.

I'm currently split between fully decalling them with full unit markings or to simply mark them with their tactical markings so I can chop and change them with Shermans and Challengers and field them as 7th/11th Armoured or even Guards Recce.

The painting table atm:


Wednesday, 19 October 2011

King Tiger, almost finished.

After finishing work early today I decided to get some painting done and get my latest list complete. I've yet to finish 3 nebs, my Pioneer Platoon and this KT. The infantry and guns are all at a uniform base colour stage and all are based.

After selling my original "Ambush Pattern" King Tiger (see pic below) some months back I decided to finish the one I've had sat on the painting table for months half painted.


I've almost got her finished, I just need to finish off the stowage, decals and tank commander.

The emphasized wear is a little stylised but I think it gets the message across? Take a look at my latest KT below and let me know what you thin so far?


Friday, 26 August 2011

They're Coming!


So I've been busy today, I stripped and worked on the older sculpted IS-2s I got from my mate Stoo and assembled the 3 new ones that arrived today.

I was in such a rush to get these painted I brushed primed them when my black aerosol ran out then I even brushed the Russian Green on when I broke my airbrush (more on that at another time, I've already ranted once today).


The discrepancies between the newer and older IS-2s is minimal, the newer models have resin sculpted cupolas whereas the new models come with 3 different white metal cupolas, open, closed and one modelled open with the commander manning the Dushka AA MG. I've used the manned AA MGs on all the new sculpts I've got, my reasoning for this is threefold:

1) They look cool as hell
2)All my IS-2s have them fitted in my list
3)Glueing the loose DShK to the loose cupolas will only end in tears. Sdkfz 250/251 AA MGs, I'm looking at you!

I'm thinking of doing these along the same lines as my T-34/85s but perhaps without the oil wash and just a standard GW wash. This for no other reason than I'm almost out of gloss varnish and I'll probably only get one coat for each tank out of what I have left. One things for sure is that I'll be using the same wear pattern (rust over pale blue) on these as on the T-34/85s (link).


Thursday, 25 August 2011

LW Panzergrenadiers almost finished!


So I've literally started from scratch with these in two days, quite happy with them, camo is so-so, not as good as my FJ but I spent NOWHERE near the amount of time on it.

I've tried some easy over highlighting on parts of the fieldgrey uniforms and some of the webbing in and effort to make them stand out a little. Better than most of the other infantry I've ever done so for a day or so's work I'm happy with them.


Tuesday, 23 August 2011

T-34/95s finished


Finished the T-34/85s Stowage etc this afternoon... Then Rommel fell asleep on the stuff I was going to do next!