Wednesday 27 July 2011

The wonderful thing about Tiggers...

Tigers 99% complete, the white specs are from the varnish and I've since removed most of them (they just scrape off with a scalpel).
 One of the tanks looks slightly different to the others, this is because I started this one before the other 4 and used an initially different base coat of Vallejo 70882 Middlestone instead of Tamiya XF-4 yellow green as I did the others.

More on these when I get some better light to take more pics.

Quick update on the last few days work.

Tigers being glossed for protection prior to a slight wash on the decals and finishing off 2 crew men who I still haven't finished. For some reason the white balance on the camera went nuts when I was taking the pic of the Tigers so they look a bit strange, almost in a haze. Might be the varnish fumes...

Panthers - all washed, glossed and decalled. Tracks and weathering to finish now.

Tuesday 26 July 2011

The quest for decent splinter camouflage on a 15mm scale.

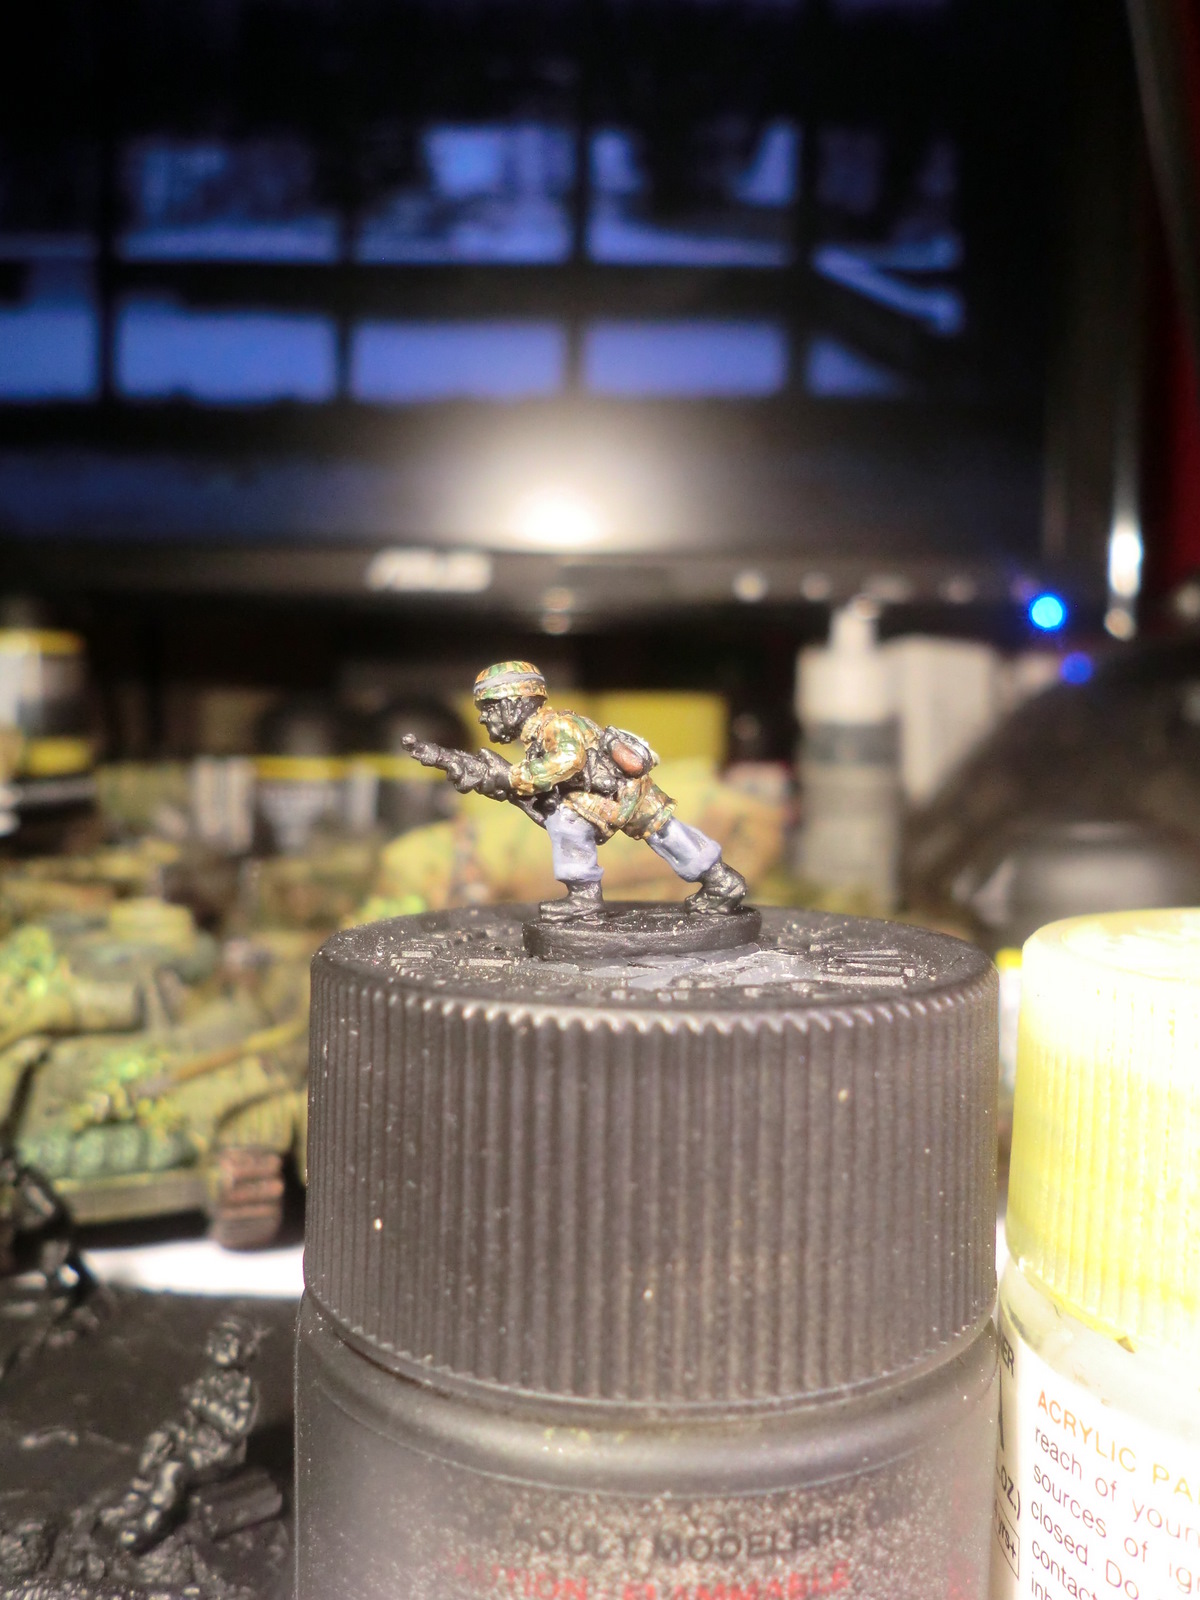
These pictures are from last month when I went through a phase of thinking I'd start a Fallschirmjager infantry force for Flames of War and how I'd go about painting splinter camo on such a small scale. I realise that this is a  pretty difficult undertaking so I set out with an open mind and did quite a bit of research on the matter. Some people who know me know that I dabble in a bit of WW2 Airsofting and reenactment so I've seen many shades and variants of splinter both replica and even original and know how varied a camouflage it is (below is n example of a splinter Zeltbahn or tent quarter).


 So the basic idea is that you can rarely copy a camouflage at this scale and you merely have to 
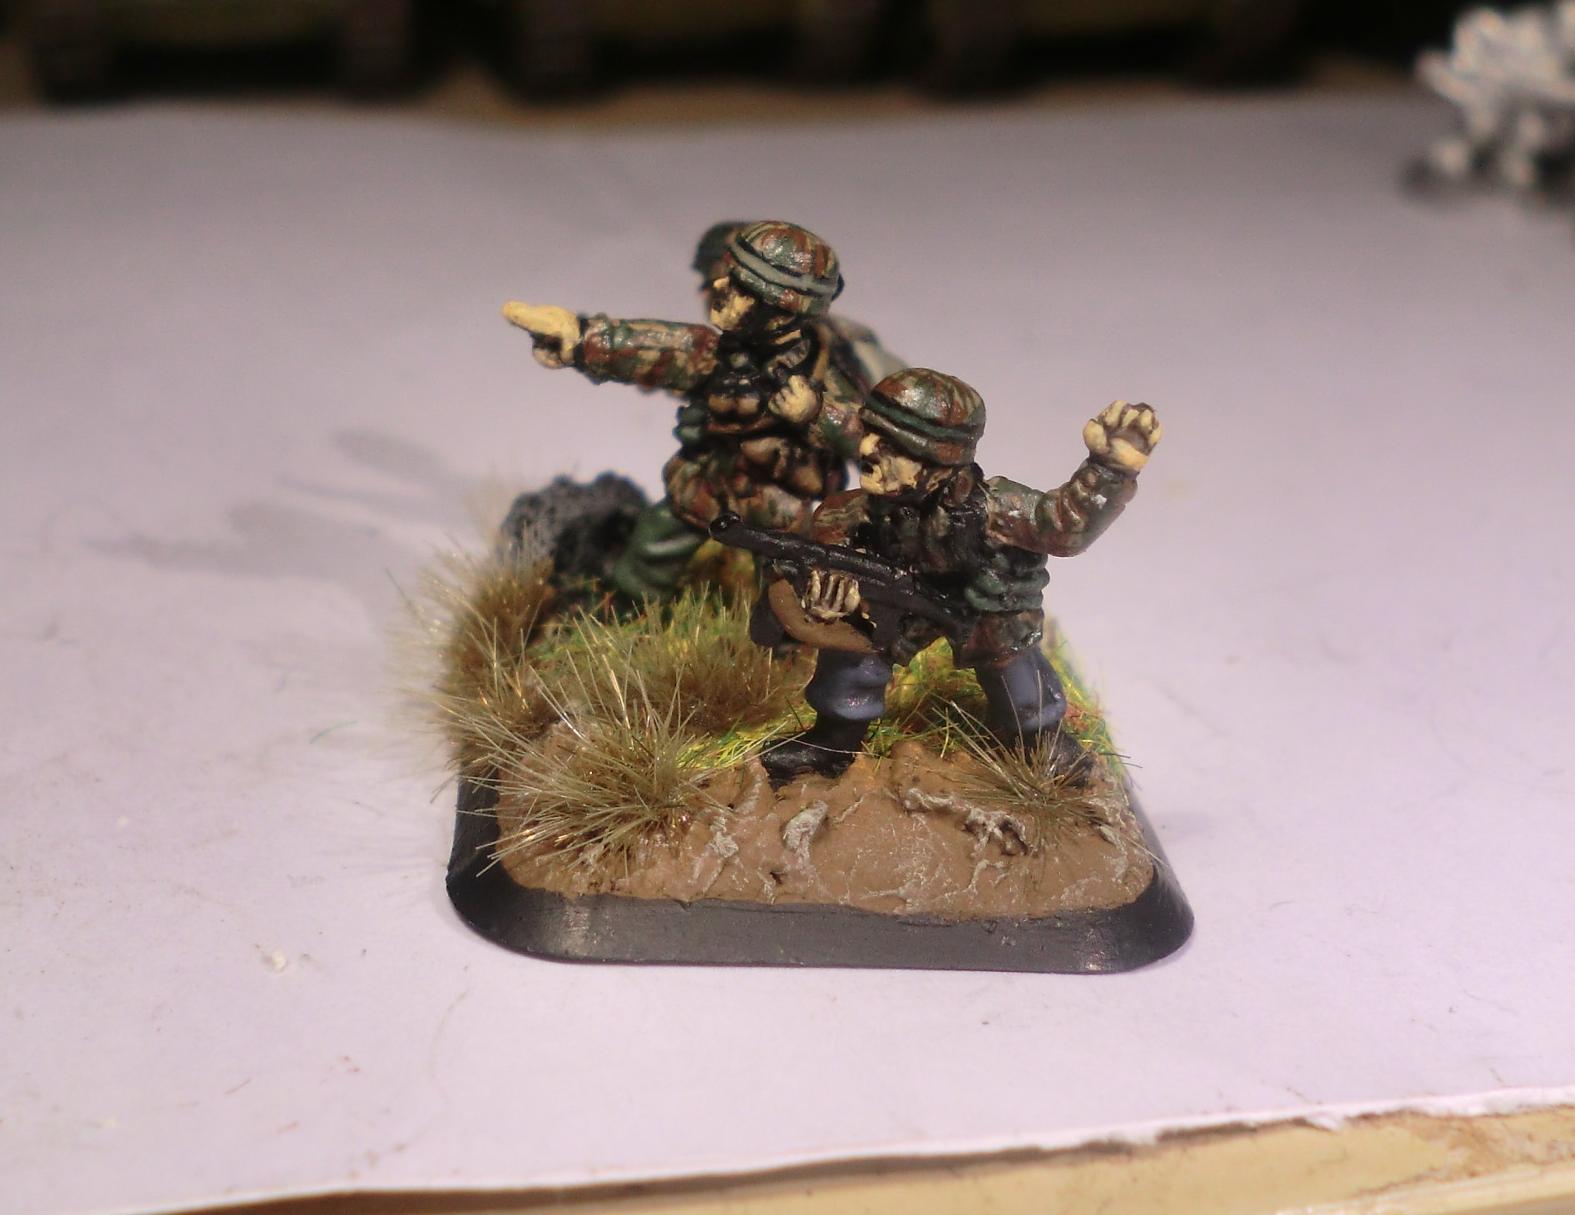
represent the camouflage in a method that makes it recognisable as you intended. Spent quite a lot of time on it and did a single figure first then added him to a command stand for the Fallschirmjager Pak40 platoon I've recently acquired.

 I used entirely Vallejo paints, started off with 70821 German Camo Beige and used a 50/50 mixture of  70983 Flat Earth and 70984 Flat Brown for the brown in the camo and used 70890 Reflective Green for the green patches, for the lining I super-imposed over the top of the whole pattern Reflective green again with a slight addition of Black to give a small contrast between the green patches and the green lining I added over large areas of the smock.

 I washed the first rifleman with Games Workshops Badab Black but I think this was too dark so used Devlan Mud on the following 2 figures. The colours I chose aren't the best visual match to the real splinter pattern but if I used the real colours on such a scale they didn't offer enough contrast for the camo to be noticeable.


Hummels.

So heres a few pics of my Hummels from their various stages. From initial camouflage and my trials with recently purchased Mig Filter, my first attempts at washes with oil paints using Abteilung oils and then final detailing. The first picture shows different amounts of Migs P242 TAN for tritonal camo applied from 1 to what I think is 4-5 coats by the right hand vehicle, I think you can notice a subtle difference.


Introduction.

So I've done it, I've started a blog. This is mainly so that I can keep track of what I'm painting/playing and why. It'll also show pics of current works in progress and game reports from mainly Flames of War related games but also other games I'm looking to get into over the following months even some video games and WW2 reenactment related topics. My friend James aka Starmonkee will be adding his comments regarding some of our games too with pictures and details from his perspective.

I've painted for many years now but I've recently come back after several years off and I'm trying new methods and techniques, some of which I thought were exclusive to the realms of that once rare beast the "pro painter". If you look on ebay these days, however, you'll see that they're quite a common sight now if you believe everything that's written!