Sunday, 19 February 2012

Unit Markings For My German Infantry

I'm stripping and repainting an awful lot of my older infantry in the hope I can get them homogeneous to some degree. I'm using an idea I've seen many other players use to prevent any confusion over unit formations and painting markings onto a small strip on the rear of the bases. Rather than just use random colour combinations I've decided to stay slightly historical and German themed and use the colours that represent their various medal ribbons.

I've started with my already painted Panzergrenadiers, I'm hoping to base and paint the rest of my infantry to match these chaps to a reasonable level. I've added to the rear of their bases the colour combination of the Eastern Front Medals ribbon:


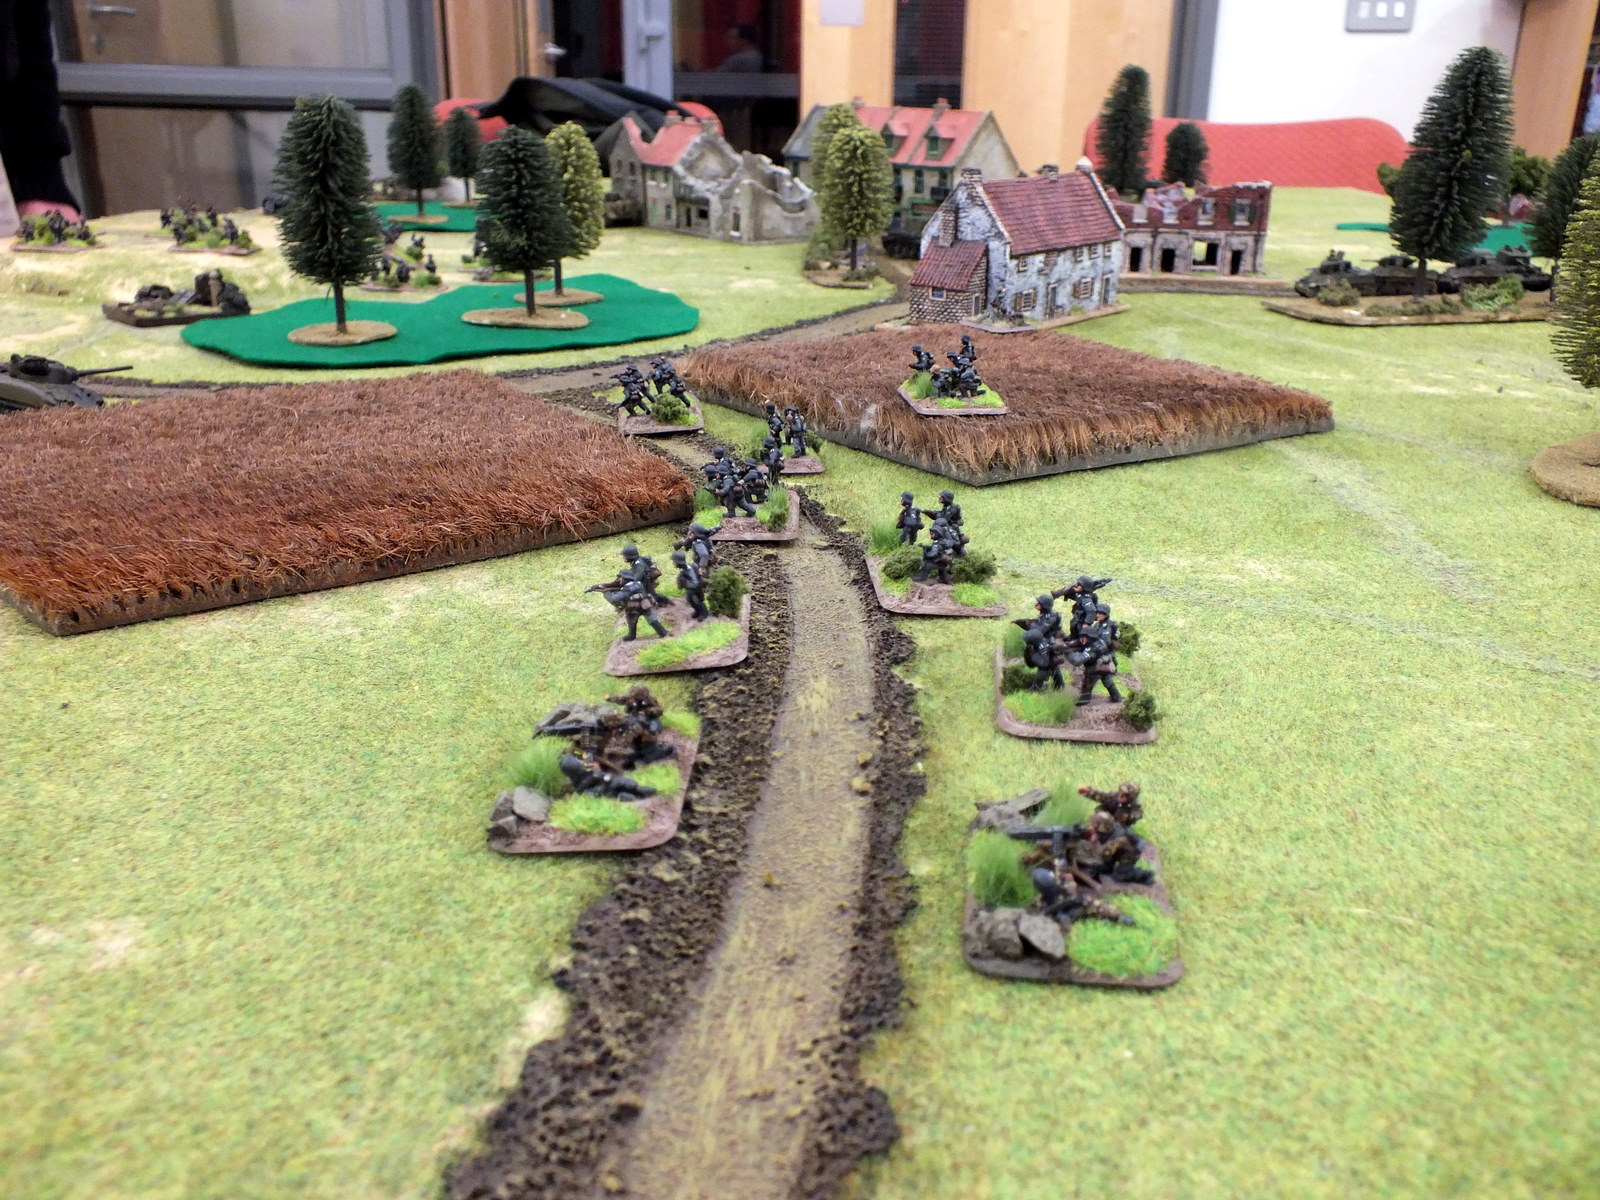
Sunday 19th Feb Game Pics.

Mixture of game pics from my local club, they're from several different games going on over the course of the day, followed by pics of Rommel my cat and his unnatural urge to lie on not only my tanks but also my infantry....


Friday, 17 February 2012

Yes, I have been busy tonight....

Das Reich T-34s, first 4 hit with the airbrush. Still working out the pressures etc with the finer for the two airbrushes which is what I was using this evening and it shows in several spots. In some areas I got the line beautifully fine but then the other areas were that much thicker I ended up double over the fine lines to bulk them out a touch.

Base colour is Tamiya XF-4 Yellow Green, the green is Vallejo Model Air Cam. Greeny 71022 and the brown is again Model Air Tank Brown 71041. On top of all this is a liberal coating of Migs filter for tritonal camouflage, hence the sheen as it's still wet in this picture.

I think you'll agree from the comparison shot that the filter really brings the colours together and looking much more accurate than you'd think anything with that base coat could look? Well I hope so anyway.


Kerr & King Minefield and Wire Sections

Just finished these this evening, they're the pioneer set from Kerr & King and set me back the not so princely sum of £16 at a Vapnartak a few weeks back. They have a lot of bubbles in the resin but specifically on the dead infantry and not really anywhere else. I can live with this as once painted they're presentable enough and will serve my pios well!

I'm going to drop a devlan mud wash onto the wire to stop it being quite so shiny, I really did a rush job on this as it's been sat in its base colours for a week and I just wanted it finished and presentable.


Flak Nest Progress.

So I picked up the Flak Nests at Vapnartak in York two weeks back and I've been working on those alongside, frankly, a shed load of other projects but this is their current status.

 I've literally just stuck the guns and gunners together, which was very hard due to various minor miscasting problems and low surface areas upon which to glue parts together.

Thursday, 16 February 2012

Quick Spearhead Update

All Stuarts have had a FoW US Armour spray base over grey polyurethane primer, a GW Badab Black wash followed by a heavy Vallejo Brown Violet drybrush. I've only just done the hulls half an hour ago and below is a pic of their current progress.

The tank on the right is how I'm going to paint them all hopefully, perhaps slightly lighter in tone though as I think it looks too much like a British tank rather than American.

Yesterday I received 160 rare earth magnets to magnetise every one of my turreted vehicles as I've been noticing more and more wear/paint damage to my Cromwells and a few other tanks. These Stuarts have all had their turrets and hulls magnetised to not only to protect their paint work but also to protect the phenomenally fragile .30 Cal MGs and their tiny main gun barrels.

Tuesday, 14 February 2012

Tuesday Night Game.

Different night, different club, different opponent!

I'm just6 gonna dump pictures here then add comments tomorrow!